Website QR codes are one of the simplest ways to connect the physical and digital worlds. You place a code on something physical, someone scans it, and they land on a web address instantly. But how website QR codes work inside QRCodeKIT is a bit more nuanced than just linking black and white squares to a URL.
Understanding how this works matters if you want flexibility, reliability, and control over what happens after the scan. This article explains how website QR codes work in QRCodeKIT, based strictly on what you see and do inside the product.
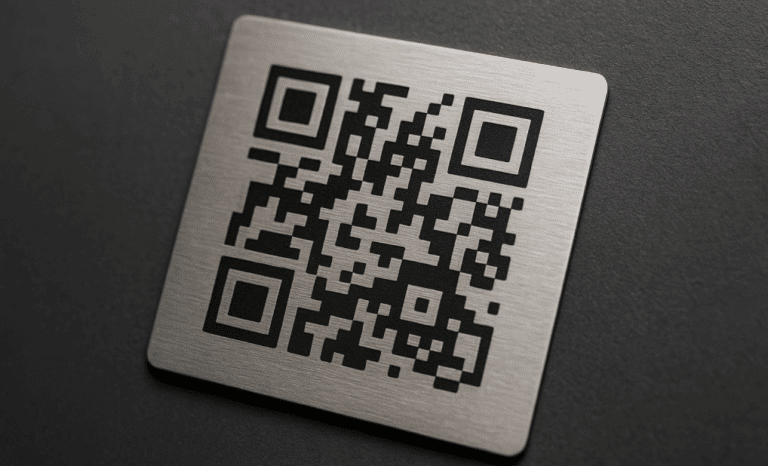
What this QR code does in QRCodeKIT
In QRCodeKIT, a website QR code is designed to open a web page, a social profile, or any URL when someone scans it with a QR code reader or a camera app on modern smartphones.
From a user perspective, the behavior is simple:
scan the QR code → open a website.
Behind the scenes, QRCodeKIT uses dynamic QR code technology. That means the QR code image itself stays the same, while the destination link can be updated later. This is a key difference compared to a traditional static QR code, where the encoded data is fixed forever once printed.
The QR code image stores a short redirection reference, not the final web address itself. QRCodeKIT manages where that reference points, allowing the same single QR code to keep working even if the destination changes.
How it works step by step in QRCodeKIT
The following steps reflect the exact flow visible in the QRCodeKIT interface.
Step 1: Start a new QR code
From the main dashboard, you click the Create QR button. This opens the QR code creation flow and lets you choose what type of QR code you want to generate.
At this point, you are not entering any data yet. You are only defining what the QR code will do.

Step 2: Choose “Website” as the QR code type
In the QR code type selection screen, you select Website.
This option is clearly described as opening a web page, a social profile, or any URL. It is the most direct way to link a QR code to website URLs, web links, or other online destinations.
Choosing this type tells QRCodeKIT that the destination will be a web address rather than a file, menu, digital business card, or another format.

Step 3: Enter the destination link
After selecting the Website QR code type, you are taken to a simple configuration screen with a single input field.
Here, you paste or type the web address you want the QR code to lead to. This can be a homepage, a specific page, or any direct link.
The interface clearly indicates that this link can be updated later and that the printed QR code will continue to work. This is where the dynamic behavior becomes important: the stored data in the QR code does not lock you into one URL forever.
Once the link is entered, you save the configuration.

Step 4: Customize the QR code design
After saving the destination, you see the QR code preview and design panel.
Here you can:
- View the generated QR code image
- Choose from predefined QR design styles
- Add or remove a frame
- Upload a logo or keep the QR code clean
The preview updates visually, but the underlying behavior stays the same. The QR code still points to the destination link you defined earlier.
A short link generated by QRCodeKIT is also visible. This is the redirection layer that allows the destination to remain editable without changing the QR code image.

In addition to standard design options, QRCodeKIT also offers the ability to create unique, visually distinctive QR codes using AI, without compromising scan reliability.
With AI-powered QR code art, the visual structure of the code is reimagined into creative designs that still remain fully readable by modern QR code scanners. This allows a single QR code to stand out visually while preserving its technical integrity, error correction, and real-world usability.
This option is especially useful when the QR code itself is part of the visual experience, such as in product packaging, marketing materials, retail displays, or branded campaigns where aesthetics and functionality need to coexist.
Step 5: Download and use the QR code
Once the design is ready, you download the QR code image and place it on physical or digital materials such as print ads, product packaging, digital menus, posters, or retail displays.
When users scan the QR code using their mobile devices, QR code scanner, or camera app, the code leads them directly to the website you configured.
Why this approach works well for real use cases
This setup works especially well in marketing and advertising campaigns, retail stores, and product packaging because it separates the physical code from the destination logic.
You can print one common QR code across many materials and still adapt where it leads over time. If a website URL changes, a campaign ends, or you need to fix a mistake, you update the destination instead of reprinting everything.
This is also useful in supply chain management, digital menus, and print ads, where QR codes need to remain reliable long after they are distributed.
Common mistakes or misunderstandings
One common misunderstanding is assuming that the QR code image itself contains the full web address. In QRCodeKIT, the QR code stores a reference, not the final destination link. That is why edits are possible later.
Another frequent confusion is expecting QRCodeKIT to block malicious QR code behavior automatically. While QRCodeKIT manages the destination link, it is still the user’s responsibility to ensure the linked website is safe and does not lead to a malicious website or fake website.
Some users also expect website QR codes to store sensitive data directly. Website QR codes are meant to direct users to online content, not to store confidential information inside the QR code image itself.
From QR code to web page
Website QR codes in QRCodeKIT are built to be simple on the surface and flexible underneath. You choose the Website type, enter a link, design the QR code, and use it wherever needed. The key difference is that the destination stays editable while the QR code image remains the same.
Once you understand how website QR codes work in QRCodeKIT, it becomes much easier to use them confidently across physical and digital touchpoints, knowing you are not locked into a single decision forever.
If you want to go deeper, exploring how other QR code types behave inside QRCodeKIT can help you choose the right approach for each use case.