
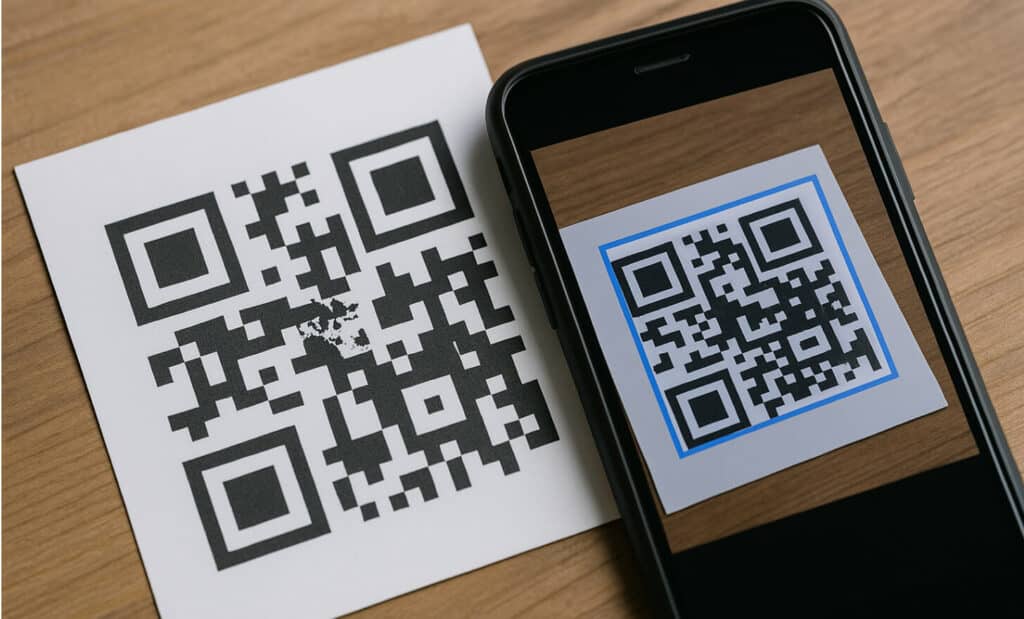
QR code error correction is a unique feature that allows a QR code to remain scannable even when part of it is damaged, dirty, or obscured. It’s one of the most impressive capabilities built into the technology, ensuring that the encoded data can still be read accurately by a camera app or scanner. This function is vital for maintaining data integrity, especially in real-world scenarios where printed QR codes can face wear and tear.
How does QR code error correction actually work?
QR code error correction is one of those behind-the-scenes features that makes QR codes incredibly reliable, even in messy, real-world conditions. Think about it: have you ever scanned a QR code that was slightly torn, dirty, or partly covered—and it still worked? That’s no accident. It’s thanks to a clever system based on Reed-Solomon error correction.
This mathematical algorithm is what allows a QR code image to be scanned successfully even if part of it is missing or damaged. The system works by adding extra data—known as error correction code—to the original data during QR code generation.
If parts of the code are lost or unreadable, the algorithm uses those added bits to reconstruct the original data. That’s what makes QR codes so resilient, especially when printed on surfaces that might face wear, weather, or rough handling.
What is Reed-Solomon code?
The Reed-Solomon code is a form of error correction used in many technologies where data integrity is crucial—like CDs, satellite communication, and digital television. In QR codes, it enables the system to fix errors that occur when the code is scanned with a smudged lens, under poor lighting, or after part of the code has physically deteriorated.
When you use a QR code generator, you’re not just creating a visual pattern—you’re generating a highly engineered two-dimensional code that includes built-in redundancy. This allows the QR code to tolerate partial damage or distortion while still delivering the intended information when scanned.
A real-world example
Let’s say you’ve created a printed QR code and placed it on product packaging. During transport or storage, the label gets scratched or smudged. Without error correction, that code might become useless.
But thanks to the error correction capability built into QR codes, a camera app can still read the encoded data and access the link, text, or information inside. This is essential in industries like logistics, retail, and healthcare, where reliable scanning is critical to operations.
Why is error correction so important?
Because real life is unpredictable. Printed QR codes can end up creased, dirty, torn, or covered by stickers. They might be exposed to sunlight, humidity, or rough handling. They could even be printed on uneven or curved surfaces like bottles or cans.
The error correction feature allows the code to remain scannable even in less-than-ideal environments. This ensures that the data remains accessible, no matter what happens on the outside.
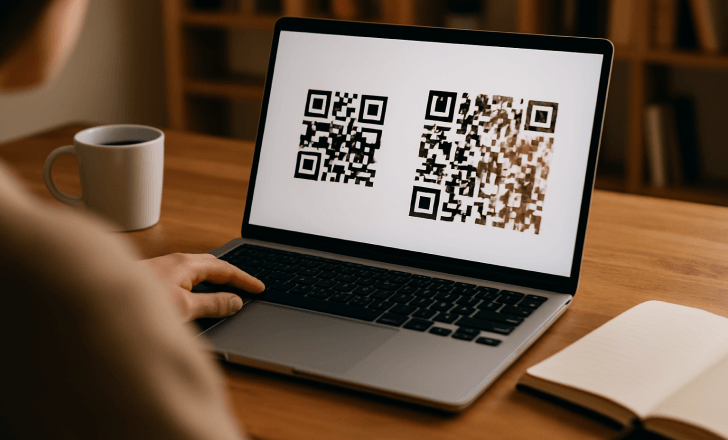
What about digital QR codes?
Even dynamic QR codes displayed on screens benefit from error correction. A cracked screen, low-resolution camera, or glare can all introduce code errors. With error correction, the scanner doesn’t need every single pixel to be perfect—it just needs enough to reconstruct the original pattern. That means your digital campaigns and mobile experiences remain smooth and reliable.
In short, QR code error correction is what makes QR codes work in the real world. Whether you’re dealing with external factors like weather and handling, or technical limitations like small sizes and older scanners, error correction helps maintain data accuracy, scanning speed, and overall usability. It’s a powerful example of how something as simple as a black-and-white square can contain advanced features designed to withstand damage and still deliver results.
What are the four levels of QR code error correction?
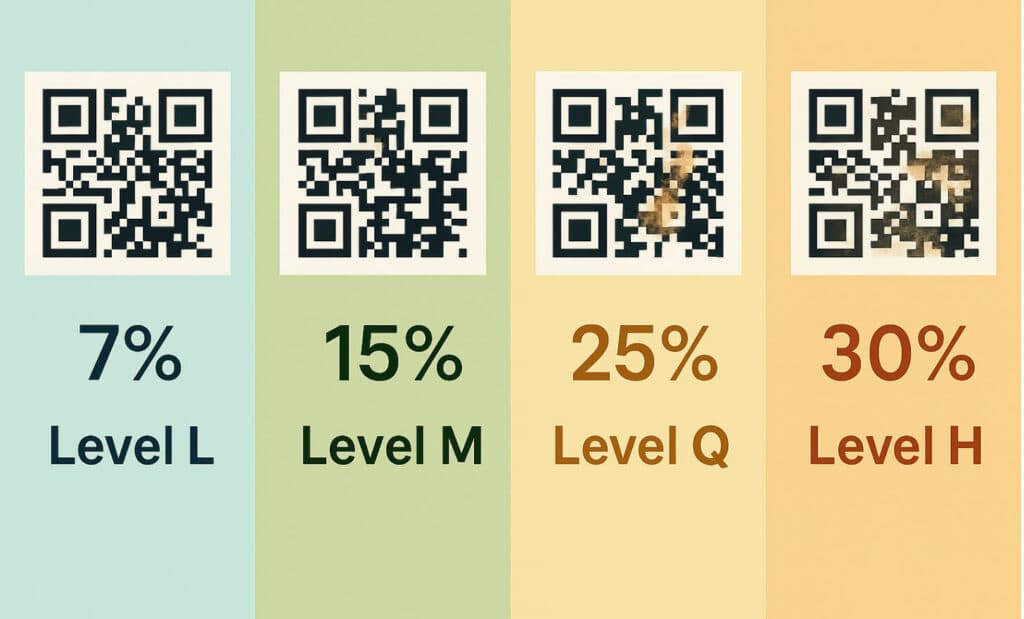
QR codes support four error correction levels: L, M, Q, and H. Each level determines how much of the encoded data can be recovered if the QR code image is damaged or distorted.
- Level L (Low): Recovers up to 7% of the data. It’s ideal for clean, controlled environments.
- Level M (Medium): Recovers up to 15%, offering a balance between storage capacity and protection.
- Level Q (Quartile): Recovers up to 25%, useful when there’s a moderate risk of damage.
- Level H (High): Recovers up to 30%. This is the most robust option, perfect for printed QR codes in outdoor or industrial settings.
These levels are built using Reed-Solomon error correction, and they play a key role in keeping the original data intact when scanning conditions aren’t ideal.
Choosing the right level depends on various factors—like where the code will be used, how it’s printed, and what kind of external factors it might face. If the code could be scratched, smudged, or partially obscured, a higher error correction level helps ensure it stays scannable.
When should you choose a higher error correction level?
A higher error correction level—such as Level Q or Level H—is recommended when your QR code is likely to face external factors that could compromise its readability. This includes:
- Outdoor use, where rain, dust, or sunlight might degrade the code.
- Printed QR codes on packages that may get scratched or smudged.
- Cases where stickers partially cover the code (e.g., for branding).
- Surfaces that are curved or textured, which can distort the QR code image.
Using a higher level increases the error correction capability, meaning more of the original data can be recovered if damage occurs. This helps maintain data integrity and ensures users can still scan the QR code with a standard camera app.
Just keep in mind: higher correction levels reduce the storage capacity of the code and can require larger QR codes to remain scannable. It’s a trade-off between resilience and data density, so choose based on your code’s environment and purpose.
What are the trade-offs of higher correction levels?
While higher error correction levels make your QR code more durable and able to withstand damage, they come with a few important trade-offs:
- Less storage capacity: The more space used for error correction code, the less room there is for encoded data. If you’re trying to include a lot of information—like a long URL, text, or vCard—you may need to reduce content or use a dynamic QR code instead.
- Larger QR codes: To maintain scan reliability, you might need to increase the QR code size, especially when using Level H error correction. A small, dense code can become hard to scan quickly, especially for older scanner hardware or mobile devices with basic camera apps.
- Slower scans: More complex codes with higher correction may take a bit longer to process, particularly if the scanning conditions aren’t optimal.
Choosing the right level means balancing error correction rate, scanning speed, and content needs. If your code will be exposed to potential data corruption, it’s often worth sacrificing a bit of space to protect data integrity.
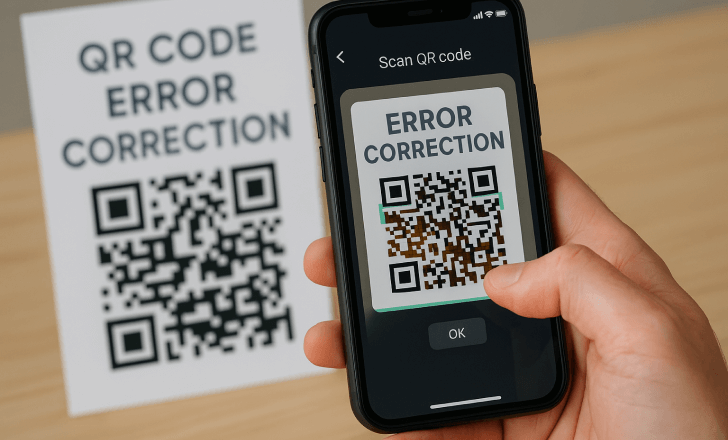
How much damage can a QR code tolerate?
Thanks to built-in QR code error correction, a code can remain scannable even if up to 30% of the QR code image is damaged, depending on the correction level used. That means if a part of the code is torn, dirty, faded, or even missing entirely, the scanner can still read and reconstruct the original data.
Here’s what each level typically tolerates:
- Level L: Up to 7% damage
- Level M: Up to 15%
- Level Q: Up to 25%
- Level H: Up to 30%
This unique feature is especially helpful in real-world situations where QR codes might suffer from data corruption—like product packaging that gets scratched, or signage exposed to weather. It’s what makes QR codes so reliable across industries, from retail to healthcare, even when conditions are far from perfect.
So if you’re worried about how much damage your code can handle, increasing the QR code correction level is your best defense.
What happens if I choose a lower error correction level?
Choosing a lower error correction level, like Level L or Level M, can be a smart move—if your QR code will live in a clean, controlled environment. These levels allow more room for encoded data, making them perfect when you need a compact code with fast scanning speed and minimal visual footprint.
But here’s the catch: with lower correction levels, your QR code becomes more vulnerable to external factors like scratches, dust, or printing imperfections. Even minor code errors can make it unreadable if there’s not enough error correction capability built in.
Use lower levels when:
- The QR code is displayed on a screen.
- The surface is clean, flat, and protected.
- You want to keep the code small while storing more data.
Just remember: if there’s any risk of physical wear or interference, a higher error correction level is the safer option to preserve data integrity.
How does QR code error correction impact design?
One of the most exciting aspects of QR code error correction is how it enables creative freedom in design. Thanks to this error correction feature, parts of the QR code image can be safely altered—like adding a logo or changing colors—without breaking its functionality.
Many brands take advantage of this by placing their logo at the center of the code or customizing the visual style. Because higher correction levels (like Level Q or Level H) allow more of the original data to be recovered, you can “sacrifice” part of the code visually while still keeping it readable.
Design considerations made possible by error correction include:
- Central logos or icons
- Custom color palettes
- Rounded or stylized patterns
- QR codes integrated into product packaging or ads
Just keep in mind: the more you modify the visual elements, the more you’ll need to rely on a higher error correction rate to preserve scanning speed and data integrity. Always test your design in different lighting and with multiple scanner apps before finalizing.

Can error correction help when using dynamic QR codes?
Absolutely. Even though dynamic QR codes typically store less data—since they point to a short, trackable URL—their success still depends on whether users can scan the QR code quickly and reliably. That’s where QR code error correction plays a vital role.
Imagine a dynamic QR code printed on packaging, menus, or posters. If the code gets scratched or a sticker partially covers it, the built-in error correction capability ensures the encoded URL can still be reconstructed and accessed. That means users won’t hit a dead end—even in real-world conditions.
Plus, many QR code generators allow you to set the error correction level when creating your dynamic code. Choosing Level Q or H gives you extra protection, especially when the code is expected to be used for extended periods or in challenging operating environments.
In short: even though the data size is small, error correction ensures your dynamic QR codes remain user-friendly, resilient, and effective in driving engagement.
What is the role of error correction in making payments?
In payment systems, QR code error correction is critical. Whether you’re scanning a code to pay for coffee or displaying one from your phone to receive money, the data needs to be transmitted flawlessly. A corrupted or unreadable code could lead to failed transactions, delays, or even misdirected payments.
To avoid that, most payment platforms rely on higher error correction levels, such as Level Q or Level H, especially for printed QR codes on receipts or terminals that might get scratched or crumpled. These higher correction levels help maintain data integrity and ensure the scanner can retrieve the correct payment information—even if the code isn’t in perfect condition.
In this context, error correction code doesn’t just protect the data—it helps ensure trust. When people use QR codes to make payments, they expect the process to be fast, accurate, and secure. QR code error correction helps make that possible.
What is the impact of QR code size on error correction?
To include more data and a higher error correction rate, your QR code must be physically larger. This ensures the data area remains readable even after distortion. Smaller codes with high correction levels may result in denser patterns that are harder to scan with older cameras.
How does error correction affect scanning speed?
While error correction helps QR codes withstand damage, it can lead to slower scans if the camera app needs to process a damaged or partially obscured code. For best performance, balance correction level with expected operating conditions.
How can I generate QR codes with custom error correction levels?
A good QR code generator like QR Code KIT allows you to set the error correction capability during QR code generation. You can preview how your QR code looks and test its readability under different scenarios, making it easier to select the right level.
Can QR code error correction protect sensitive information?
No. Error correction only helps fix errors in scanning—it doesn’t encrypt or secure your data. If you’re using QR codes to share sensitive information, consider additional measures like password protection or HTTPS links within your dynamic QR codes.
How do external factors affect QR code readability?
QR code readability depends on more than just the code itself—external factors can significantly impact how easily a code can be scanned. These include:
- Dust, dirt, or smudges on the QR code image
- Sunlight or glare that reflects off glossy surfaces
- Low lighting or shadows during scanning
- Poor print quality or ink bleeding
- Curved or uneven surfaces (like bottles or fabric)
- Scratches or folds on printed QR codes
All of these can introduce code errors that prevent a scanner from recognizing the pattern correctly. That’s where QR code error correction comes in. By selecting the right error correction level, you give the code the ability to recover from partial damage or distortion.
For example, if a code is likely to be printed on outdoor signage or product packaging, using Level H can make it far more resilient. It ensures the original data remains accessible even when conditions aren’t ideal—whether you’re scanning with a camera app on a sunny day or trying to read a wrinkled shipping label.
In short, by accounting for these various factors during QR code generation, you can improve scan success rates and provide a smoother experience for users in any operating environment.
Is QR code error correction helpful for marketing campaigns?
Yes! For campaigns involving posters, packaging, or billboards, error correction ensures that your QR code remains readable—even when partially damaged, faded, or marked. This boosts reliability and customer engagement across touchpoints.
Can QR code error correction be used on curved or uneven surfaces?
Yes, but with caution. Scanning on curved surfaces like bottles may distort the QR code image. Using a higher correction level increases the chance that the scanner can reconstruct the data correctly, especially if distortions affect only part of the image.
What’s the future of QR code error correction?
As QR code use expands into healthcare, logistics, and high-security industries, error correction features will remain essential. Future improvements may involve smarter scanning algorithms that enhance the way damaged two-dimensional codes are processed, regardless of the operating environment.
What are the best practices for choosing error correction levels?
Selecting the right QR code error correction level is all about balancing reliability, data capacity, and the real-world conditions your code will face. Here are some best practices to help you choose wisely:
1. Assess the environment
Will your QR code be printed on a box, exposed to weather, or placed in a public space? If so, go with Level Q or Level H to ensure it can withstand damage from scratches, dirt, or moisture.
2. Consider how much data you’re encoding
If you’re including lots of information—like long URLs or contact details—lower levels like Level L or Level M will give you more storage capacity. But remember, they offer less protection against damage.
3. Think about design elements
Planning to add a logo or adjust the visual style? That’s fine, but you’ll need a higher correction level to maintain scannability. Customizations often hide or distort part of the QR code image, so stronger error correction keeps the code readable.
4. Test before finalizing
Always scan your code with different camera apps and under varying lighting conditions. Testing helps verify that your chosen error correction capability works as expected in real-world scenarios.
5. Use a flexible QR code generator
Choose a tool that lets you set the QR code correction level manually. This gives you full control to match the level to your use case—whether you’re prioritizing speed, data integrity, or visual branding.
By following these practices, you can ensure your QR code performs reliably—no matter where it’s used or how it’s scanned.
Final thoughts
QR code error correction isn’t just a technical detail—it’s what makes QR codes so powerful and practical in the real world. Whether you’re printing codes on packaging, using them in outdoor campaigns, or displaying them on screens, error correction ensures your message gets through, even when things go wrong.
By understanding the four error correction levels and how they impact data integrity, QR code size, and scanning speed, you can make smarter choices when you generate QR codes. Whether you’re prioritizing design flexibility, scan reliability, or performance in tough operating environments, there’s an appropriate level for every use case.
So the next time you create a QR code—especially for high-stakes applications like making payments, sharing sensitive information, or connecting with customers—take a moment to set the right error correction level. It’s a small step that makes a big difference in keeping your QR code readable, your data safe, and your user experience smooth.
