3D printable QR code: How to design, export, and print a scannable 3D tag
TL;DR
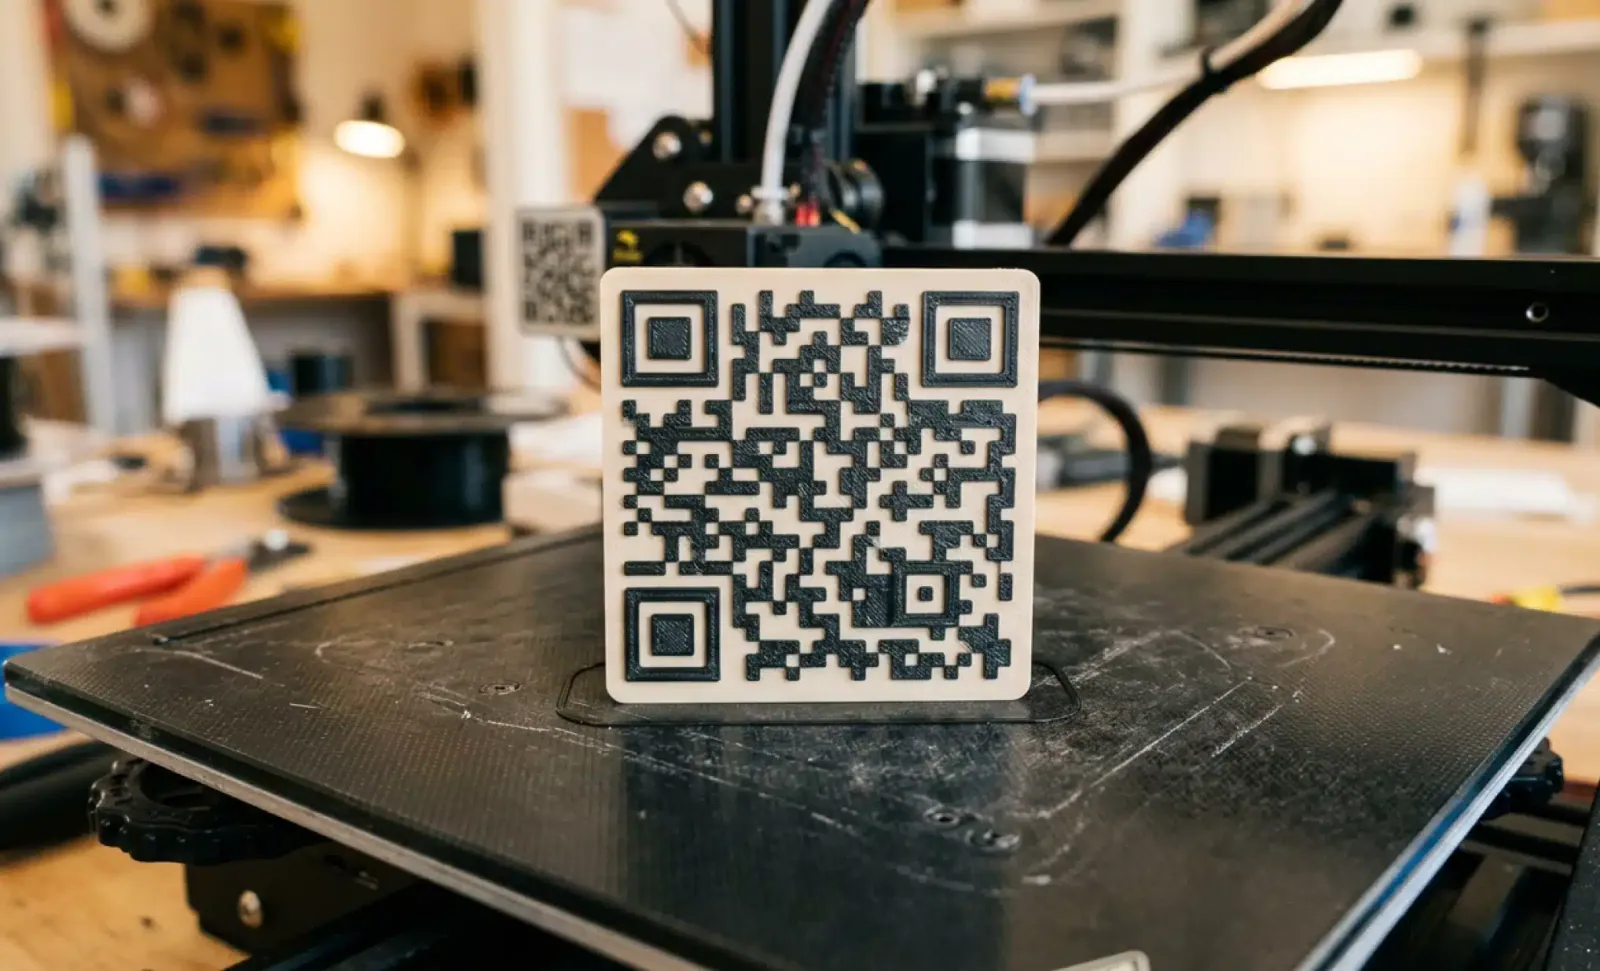
- A 3D printable QR code turns a standard QR pattern into raised or recessed geometry, exported as an STL file and printed as a durable physical object.
- Use a QR code generator that exports clean SVG files, pick high error correction, and keep the scanning surface completely flat.
- Slicer settings matter: fine layer height, slow speeds, and sharp corners decide whether your 3D printed QR code actually scans.
- Always print a dynamic QR code. The plastic never changes, but the destination behind it can be updated at any time.
Creating a 3D printable QR code gives you a durable, customizable, and physical way to connect the real world with digital content. A printed tag, keychain, or equipment plate survives sun, water, and friction far better than a sticker. With a clean SVG from a reliable QR code generator, a well prepared STL file, and the right slicer settings, you can produce a 3D printed QR code that scans on the first try. This guide covers the full process, from generating the code to choosing materials and avoiding the mistakes that ruin readability.
What is a 3D printable QR code?
A 3D printable QR code is a three-dimensional version of a standard QR pattern, modeled as raised or recessed geometry and exported as an STL file for 3D printing. Instead of ink on paper, scanners read the contrast created by depth and shadow, so the code works as a physical object rather than a flat image.
Because the pattern is built into the material itself, a 3D printed QR code resists scratches, sunlight, moisture, and constant handling. That makes it ideal for keychains, product tags, signage, equipment identifiers, or decorative elements embedded in larger models. You can add holes, frames, text, or multiple colors and still keep the code fully scannable.
Why should your 3D printed QR code be dynamic?
A 3D printed QR code should always encode a dynamic QR code because the physical object cannot be changed once printed. With a dynamic code, the printed pattern stays identical forever while the destination behind it can be updated whenever you need, without touching the plastic.
Think about it for a moment. A sticker can be peeled off and replaced. A 3D printed tag is meant to last for years. If the URL inside it ever changes, a static code would turn your durable object into expensive waste. This is the general weakness of static codes across the industry: the data is locked at creation. All QR codes from QRCodeKIT are dynamic, so the link on your keychain, sign, or product casing can point to a new menu, manual, or campaign at any time. You also get scan analytics, which tells you whether people actually use the object you printed.
How do you generate your QR code before modeling it in 3D?
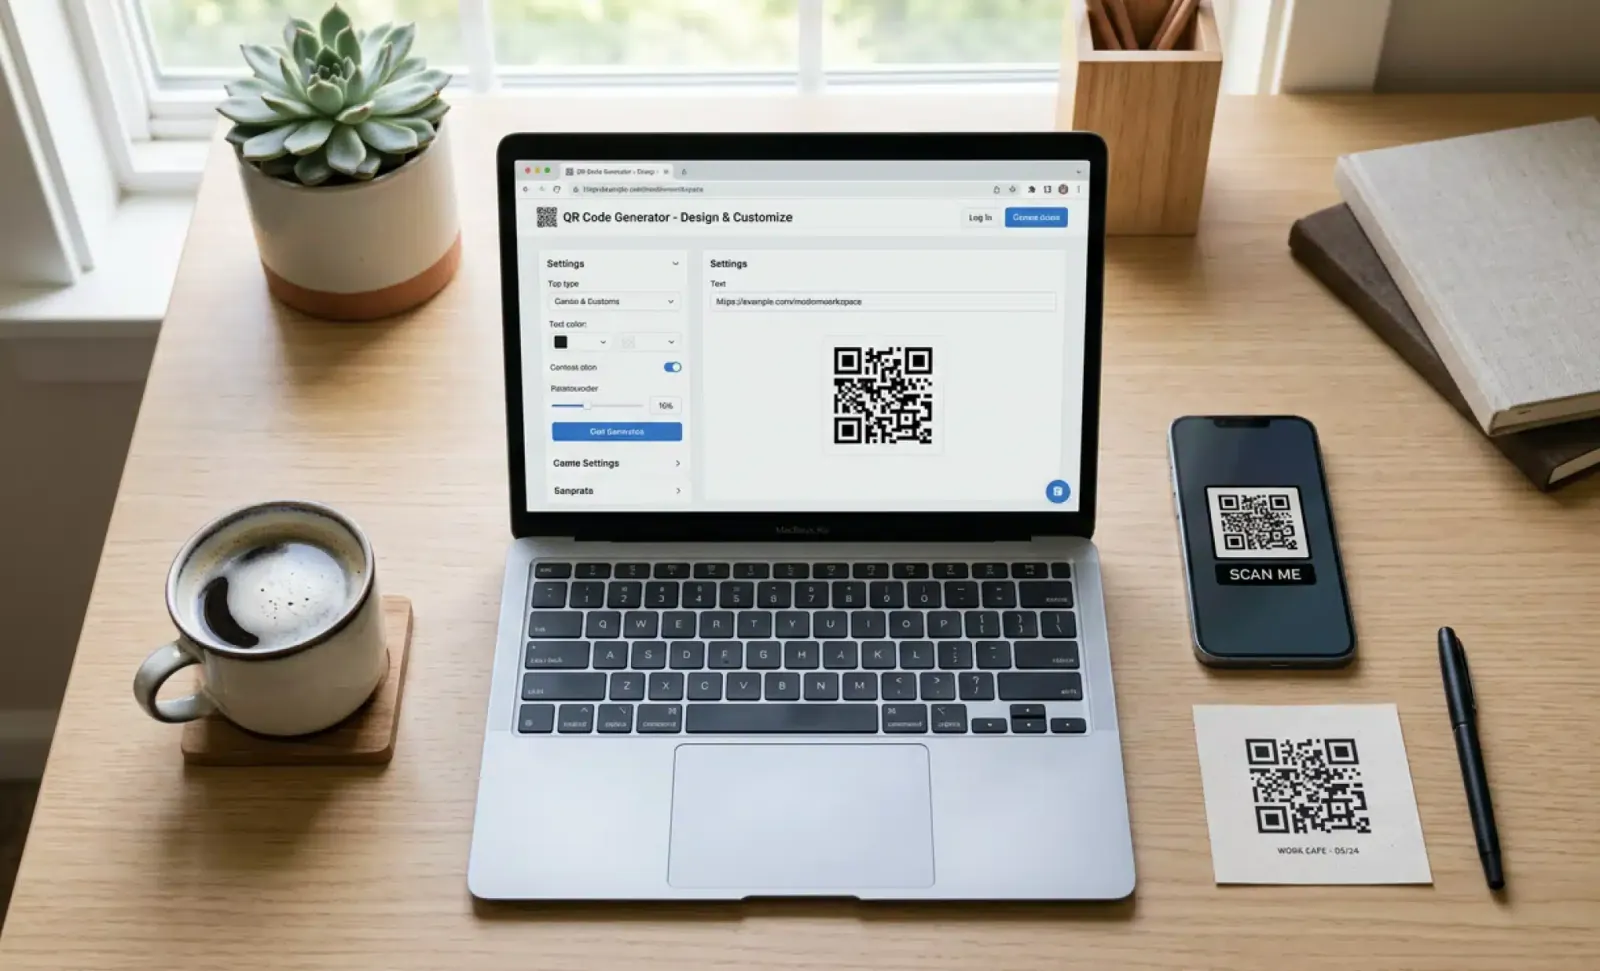
Generate your QR code with a QR code generator that exports clean vector files, ideally SVG. Vector lines keep every QR module crisp when the pattern is converted into 3D geometry, while a low resolution PNG image produces blurry edges that translate into rounded, unreliable shapes.
Start by selecting your QR code type. It might be a website URL, Wi-Fi credentials, a digital business card, or a file download. Enter the data, generate the code, and download the SVG. If your tool only offers raster formats, choose the highest resolution PNG available so the conversion captures every module accurately. The cleaner the source file, the sharper the final print.
What error correction level does a 3D printable QR code need?
A 3D printable QR code should use a high error correction level, ideally Q or H. QR codes include built-in redundancy that lets scanners read the pattern even when part of it is dirty, worn, or slightly distorted, and 3D printing always introduces small surface imperfections.
Layer lines, tiny blobs, and minor stringing are normal in 3D printing. Extra redundancy compensates for them. Outdoor tags, frequently handled objects, and textured surfaces benefit most from the highest level. Set error correction when you generate the SVG file, before any 3D work begins, because it changes the pattern itself.
How do you convert your QR image into a 3D model?
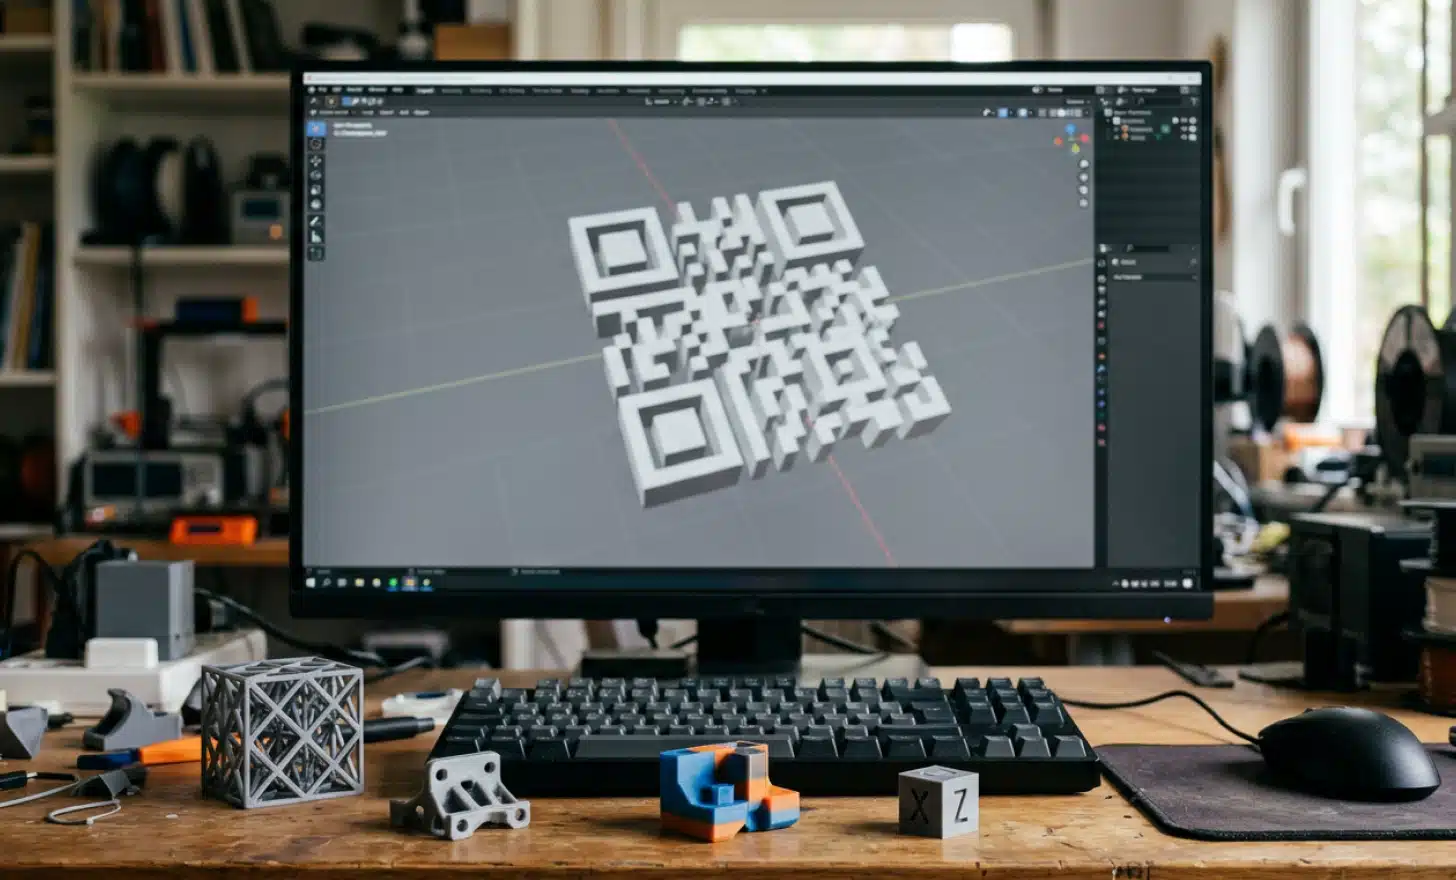
To convert your QR image into a 3D model, import the SVG file into 3D modeling software and extrude the pattern, turning each module into raised or recessed geometry. Adjust height and thickness, keep all modules uniform, and export the result as an STL file ready for slicing.
Most tools handle the extrusion automatically. A module height between 1 and 2 millimeters usually creates enough shadow contrast for scanners. If you want the code embedded in another object, convert the pattern into a cutout or relief instead of a separate plate. The STL file is what your slicer transforms into G code, the actual print instructions for your machine.
Why does a 3D printed QR code need a flat surface?
A 3D printed QR code needs a completely flat top surface because scanning depends on consistent contrast between light and shadow across the whole pattern. Curved or slanted surfaces distort the spatial relationships between QR modules, and most scanners simply fail to decode the result.
If your object is curved, add a dedicated flat platform where the code sits. Warping, uneven first layers, and irregular surfaces all interfere with readability, so check the model in your slicer preview before committing to a long print. A flat, level surface produces sharper corners and far more reliable scans.
Which slicing settings matter for a 3D printable QR code?
Slicer settings decide whether your 3D printable QR code prints sharp enough to scan. The goal is simple: every module must stay distinct, with clean edges and no merging between neighbors. A handful of settings carry most of the weight.
- A fine layer height, around 0.12 to 0.16 millimeters, improves corner accuracy and surface detail.
- Slower print speeds keep edges clean and prevent ringing artifacts around the modules.
- Extra top layers create a smoother, more uniform scanning surface.
- Correct extrusion width avoids over extrusion, which blurs geometry and rounds off corners.
Review the G code preview before printing. If two modules touch where they should not, adjust the settings and slice again. If you plan a two color print, insert a pause command at the layer where the modules begin.
Put it into practice
Create a dynamic QR code free and see it work. No credit card required.
Get started freeWhich 3D printing materials work best for QR codes?
PLA, PETG, and ABS all work for a 3D printed QR code, and the right choice depends on where the object will live. PLA is the easiest to print and fine indoors. PETG resists sunlight and moisture. ABS handles heat and suits industrial environments.
Contrast matters as much as durability. Print raised modules in a dark filament over a light base, or the reverse, and avoid glossy filaments on the scanning surface because reflections confuse scanner cameras. For outdoor signage, pick UV resistant materials so the tag stays readable after months in direct sun.
What customizations can you add to a 3D printed QR code?
A 3D printed QR code accepts plenty of customization as long as the pattern itself stays untouched. You can add a keychain hole, a frame that helps scanners align faster, custom text for branding, extra thickness for durability, or a second color by pausing the printer at a specific layer.
Some designers integrate the code into a badge or tag. Others carve it directly into a product casing or a piece of equipment. Two color printing deserves special mention because it dramatically increases contrast, which is the single factor scanners care about most. Whatever you add, keep a quiet zone of empty space around the pattern.
What mistakes should you avoid when designing a 3D printable QR code?
The most common mistakes with a 3D printable QR code are shrinking it too much, distorting the modules, and printing on the wrong surface. Small modules do not print consistently, altered patterns stop being valid codes, and vertical surfaces show layer lines that destroy contrast.
A few errors come up again and again in real prints:
- Printing the code on a vertical wall, where layer lines distort every module.
- Using highly reflective or glossy filament on the scanning surface.
- Starting from a low resolution PNG instead of an SVG file.
- Letting the slicer smooth or round corners automatically.
- Sanding the finished modules, which softens the edges scanners rely on.
Each of these is easy to avoid once you know it exists, and skipping them saves hours of failed prints.
How do you test that your 3D printed QR code scans correctly?
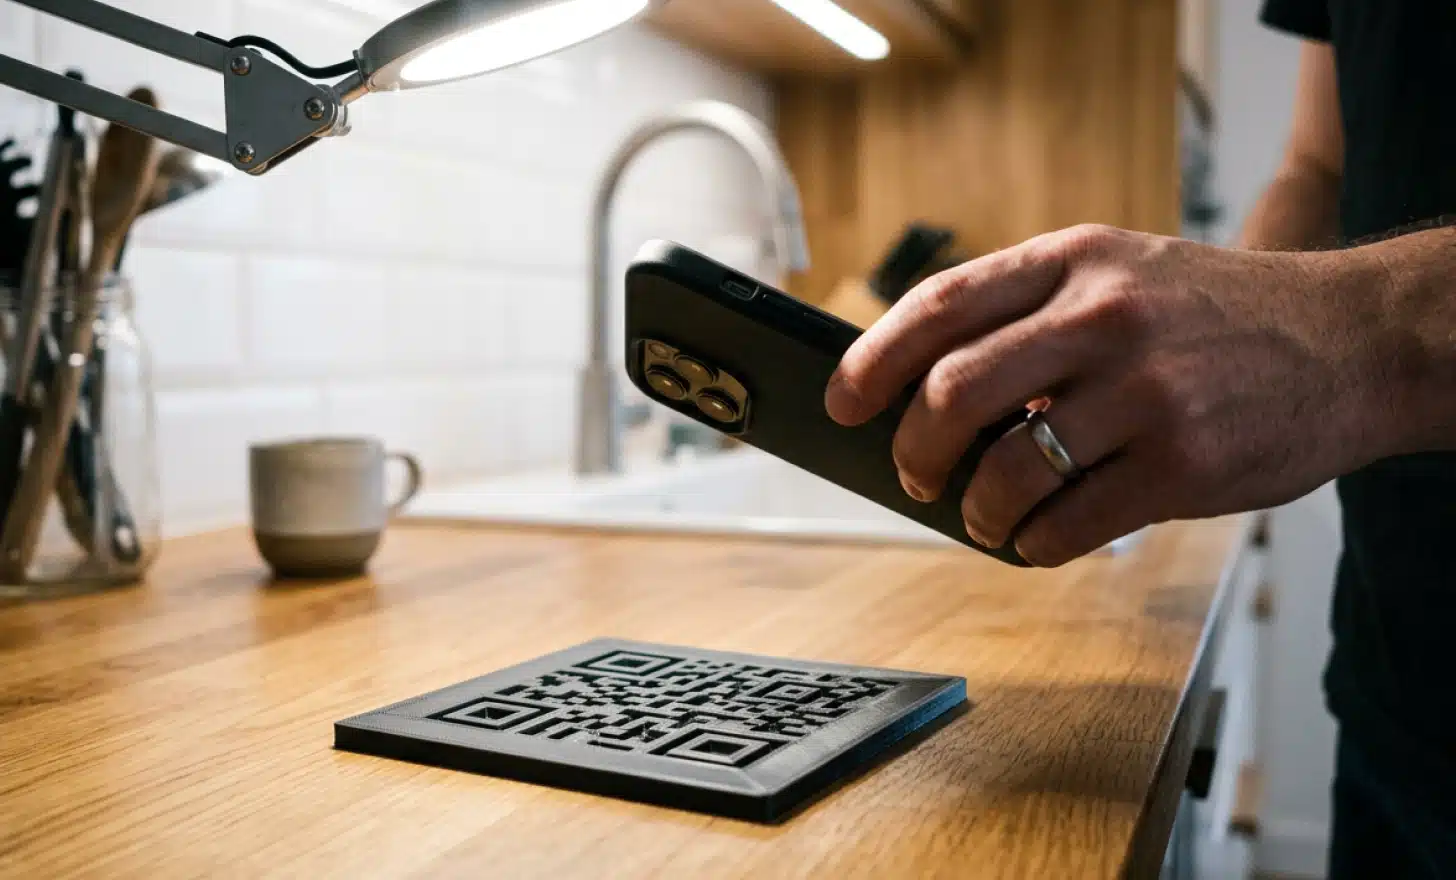
Test your 3D printed QR code in two stages: preview the sliced model to confirm every module is separated, then scan the finished print with your phone under good lighting. If it fails, increase module depth, sharpen edges, or re-slice with finer settings.
A useful trick is to export a flat PNG of the pattern from your 3D software and scan it on screen before printing. If the flat version fails, the print will fail too. Lighting matters during testing because shadows create the contrast scanners read. If problems persist, generate a new code with higher error correction and start from a fresh SVG.
How durable is a 3D printed QR code compared to stickers?
A 3D printed QR code lasts years longer than a printed sticker. Stickers fade, peel, and tear with weather and handling, while a printed tag in PETG or ABS keeps its shape and stays scannable as long as the raised modules remain intact.
This durability is exactly why pairing the object with a dynamic QR code matters so much. The physical tag outlives any single campaign, menu, or product page. For long term outdoor use, choose UV resistant filament and avoid extremely thin walls that could snap under stress.
How do you embed a 3D printed QR code into other 3D projects?
To embed a 3D printed QR code into another model, import both files into your 3D software and merge or subtract the QR geometry from the host object. As long as the code area stays flat and the modules remain uniform, scanners read the embedded pattern without trouble.
This technique works for signs, equipment plates, product casings, and decorative pieces. Export the merged model as a single STL file, or split it into parts if you want color variation, then slice and print as usual.
What file formats do you need to create a 3D printable QR code?
Creating a 3D printable QR code involves four formats: an SVG file from your QR code generator, an STL file from your 3D modeling software, G code from your slicer, and optionally a PNG image for quick scan tests or sharing previews with collaborators.
The chain is always the same. The SVG defines the pattern, the STL defines the geometry, and the G code tells the printer exactly how to build it. Keep the SVG and STL versions stored together so you can re-slice the model for a different printer or material without starting over.
How do you create your own QR code for 3D printing in seconds?
Creating your own QR code for 3D printing takes minutes from start to finish. Select your QR code type, enter your website URL or Wi-Fi credentials, generate a dynamic code, download the SVG, extrude it into a 3D model, export the STL file, slice it, and print.
From there, the customization is up to you. Add a hole and it becomes a keychain. Add a frame and it becomes signage. Add a second color and it scans from across the room. The code in the plastic never changes, but with a dynamic QR code behind it, what people find when they scan can evolve as often as your business does.
All images and visual content in this article were created using RealityMAX.
Related articles
How are QR codes generated?
How are QR codes generated? Learn the full process, from data encoding and error correction to design, plus dynamic QR codes, testing, and tracking tips.
How QR codes work?
Learn how QR codes work, from their black and white structure and error correction to scanning, data storage, common uses, safety, and dynamic QR codes.

Vibe coding
Vibe coding QR codes lets you share and host AI-generated HTML in minutes. Upload an HTML file to a dynamic QR code and send a short link, no developer tools.
Two free dynamic QR codes. Yours forever.
No credit card. No expiry. The original dynamic QR platform since 2009.